08_基于GitBook和GitHub搭建个人博客站点
4/29/2021 dev-tools
[toc]
# 推荐阅读
# 一、快速入门
# 1. 安装 gitboot
安装好 nodeJs 后,直接使用如下命令安装 gitbook
npm install -g gitbook-cli
1
# 2.初始化书籍目录
(1)创建目录结构
首先创建如下目录结构:
$ tree book/
book/
├── README.md
└── SUMMARY.md
1
2
3
4
2
3
4
README.md 和 SUMMARY.md 是两个必须文件,README.md 是对书籍的简单介绍:
$ cat book/README.md
# README

This is a book powered by [GitBook](https://github.com/GitbookIO/gitbook).
1
2
3
4
2
3
4
SUMMARY.md 是书籍的目录结构。内容如下:
$ cat book/SUMMARY.md
# SUMMARY

* [Chapter1](chapter1/README.md)
  * [Section1.1](chapter1/section1.1.md)
  * [Section1.2](chapter1/section1.2.md)
* [Chapter2](chapter2/README.md)
1
2
3
4
5
6
7
2
3
4
5
6
7
(2)使用 gitbook init,它会为我们创建 SUMMARY.md 中的目录结构。
$ cd book
$ gitbook init
$ tree
.
├── README.md
├── SUMMARY.md
├── chapter1
│   ├── README.md
│   ├── section1.1.md
│   └── section1.2.md
└── chapter2
    └── README.md

2 directories, 6 files
1
2
3
4
5
6
7
8
9
10
11
12
13
14
2
3
4
5
6
7
8
9
10
11
12
13
14
# 3.编译和预览书籍
书籍目录结构创建完成以后,就可以使用 gitbook serve 来编译和预览书籍了:
$ gitbook serve
Press CTRL+C to quit ...

Live reload server started on port: 35729
Starting build ...
Successfully built!

Starting server ...
Serving book on http://localhost:4000
1
2
3
4
5
6
7
8
9
2
3
4
5
6
7
8
9
gitbook serve 命令实际上会首先调用 gitbook build 编译书籍,完成以后会打开一个 web 服务器,监听在本地的 4000 端口。
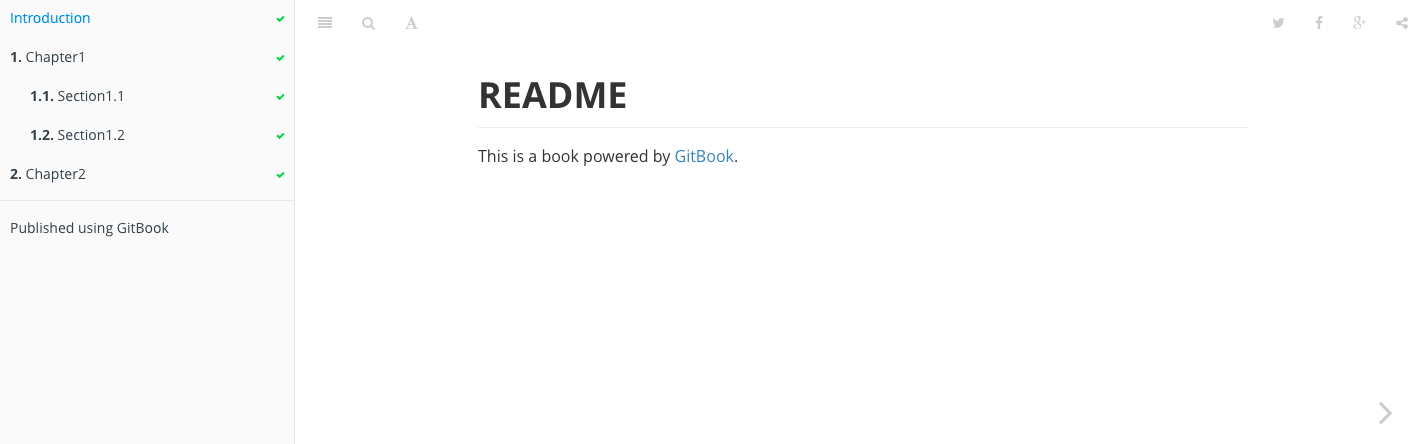
现在,可以用浏览器打开 http://127.0.0.1:4000 (opens new window) 查看书籍的效果,如下图:
# 3. gitbook editor
从 gitbook editor 下载本地编辑器
https://github.com/GitbookIO/editor-legacy (opens new window)